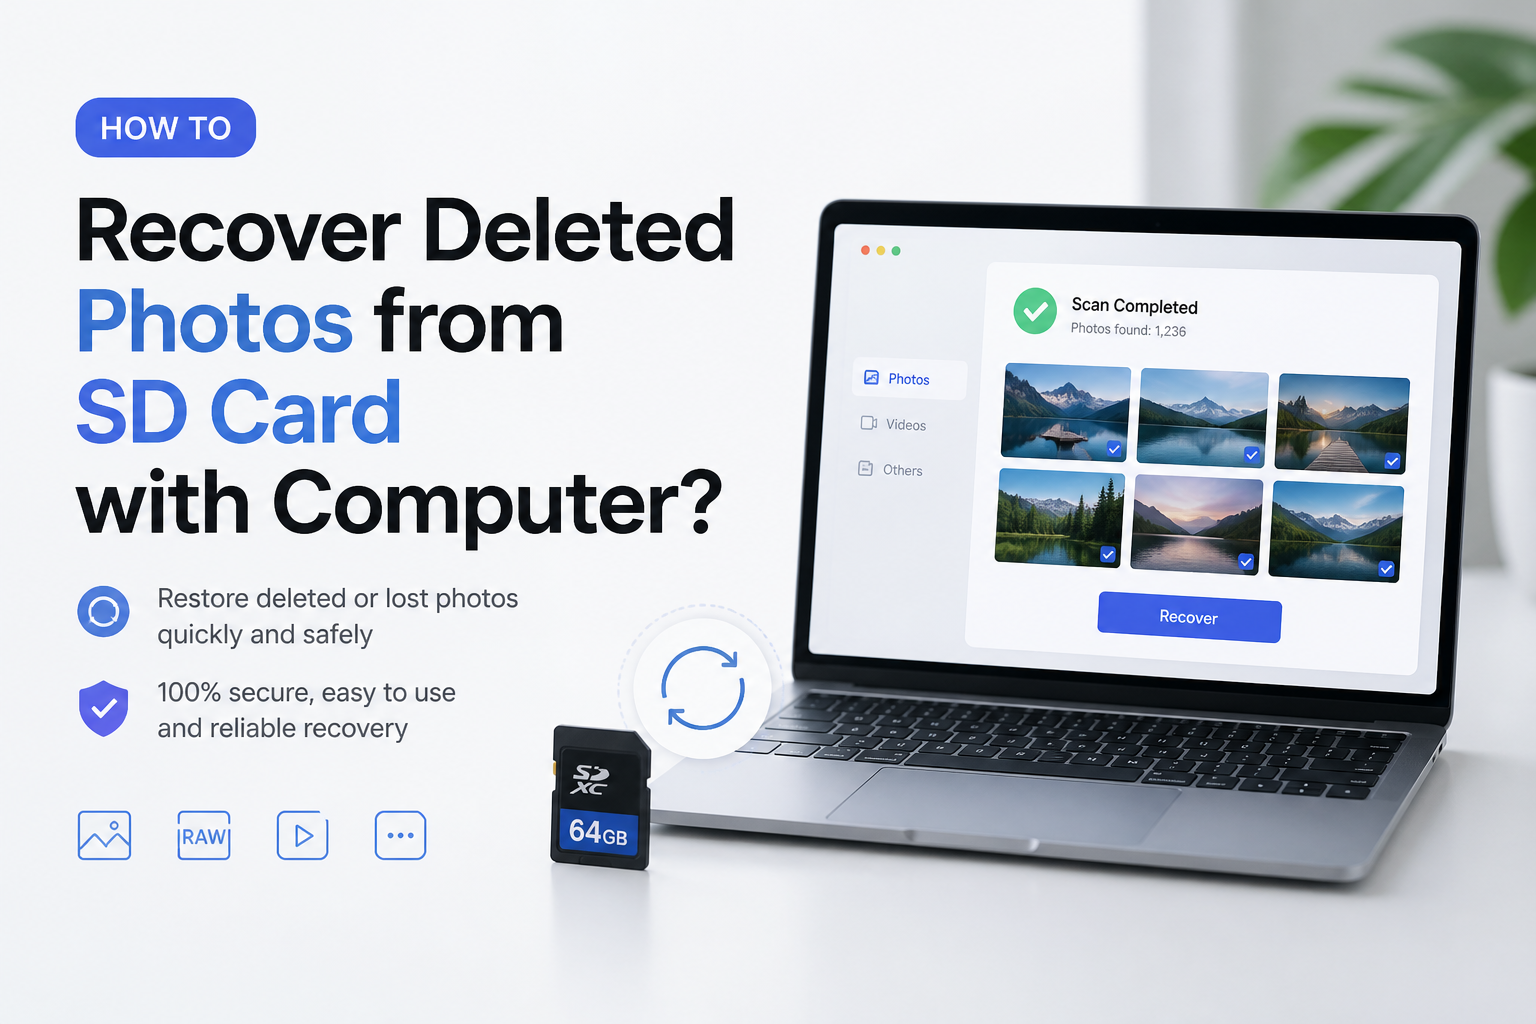
How to Recover Deleted Photos from SD Card with Computer?
Deleted pictures often remain recoverable until new data replaces them. Put the card aside, connect it to a computer, then start with the least risky method.
Stop using the SD card immediately. Connect it to a Windows PC or Mac with a card reader, scan the complete card in Disk Drill, preview the missing photos, then recover them to the computer rather than back to the card.
Do not take more photos, format the card, run CHKDSK, use First Aid, or save recovered files onto the same SD card. Each write can overwrite deleted image data. If the card disconnects or reports read errors, image it first or stop for professional help.
Scan a Deleted or Formatted SD Card → Disk Drill
Scans camera cards on Windows or Mac · Previews found photos before recovery · Can create a byte-to-byte card image
Top 5 Ways to Recover Deleted Photos From an SD Card With a Computer
01 Scan the SD Card With Disk Drill
Best first move for deleted, formatted, or suddenly missing camera photos
~15 min
Scan the SD Card With Disk Drill
Best first move for deleted, formatted, or suddenly missing camera photos
Disk Drill gives you a visual route through the recovery process. It can scan the card, group found pictures by type, preview many results, then copy selected files to another drive.
- Stop using the SD card. Remove it from the camera, phone, drone, or other device.
- Insert the card into your computer through a built-in slot or a USB card reader. Keep the card's lock switch in the locked position if it has one.
- Download Disk Drill from the official Disk Drill website, install it on the computer's internal drive, then open it.
- Select the complete SD card rather than an individual volume, then click Search for lost data. Use the universal scan for ordinary deleted photos.
- Open Pictures, filter by formats such as JPG, HEIC, CR2, NEF, ARW, or DNG, then preview the files you care about.
- Select the photos, click Recover, then save them to the computer or a separate external drive. Never choose the affected card as the destination.

02 Create a Disk Image Before Scanning
Safer for a card that disconnects, freezes, runs slowly, or reports read errors
~30–90 min
Create a Disk Image Before Scanning
Safer for a card that disconnects, freezes, runs slowly, or reports read errors
A weak SD card can get worse while software reads it. A byte-for-byte image lets you capture the readable sectors once, put the original card aside, then run recovery attempts against the image.
- Connect the SD card through a reliable reader. Do not format it, run repairs, or let a camera write new folders to it.
- Check that another drive has free space greater than the card's full capacity. A 128 GB card may require roughly 128 GB for an uncompressed image.
- Open Disk Drill, choose Byte-to-byte Backup, then select the physical SD card.
- Click Create backup, choose a destination on the computer or a healthy external drive, then wait for imaging to finish.
- Disconnect the original card once the image is complete. Store it somewhere safe in case a specialist needs it later.
- Load the resulting
.ddor disk-image file into Disk Drill, scan it for lost data, then recover photos to a separate folder.
03 Recover Photos With PhotoRec
Free option for users who can tolerate generic filenames plus a less friendly workflow
~30–120 min
Recover Photos With PhotoRec
Free option for users who can tolerate generic filenames plus a less friendly workflow
PhotoRec is a free, open-source file-carving utility. It ignores much of the damaged file system, which helps with formatted or corrupted cards, but recovered photos usually lose their original names plus folder arrangement.
- Download TestDisk with PhotoRec from the official CGSecurity website, then extract the package to the computer.
- Connect the SD card, launch QPhotoRec for the graphical interface, then select the card by matching its capacity carefully.
- Choose the relevant partition. If you are unsure after a format or corruption event, scan the whole device rather than a small partition.
- Open File Formats, clear unnecessary types, then enable the photo formats used by your camera. Common choices include JPG, PNG, TIFF, CR2, NEF, ARW, or DNG.
- Choose a recovery folder on the computer or another drive. Do not select any folder on the SD card.
- Start the search, let it finish, then sort the generated recovery folders by file type, dimensions, capture metadata, or thumbnail.
04 Check Import Folders Plus Backups
Fastest when the photos were copied, synced, or imported before deletion
~5–20 min
Check Import Folders Plus Backups
Fastest when the photos were copied, synced, or imported before deletion
The SD card may not be the only copy. Camera import tools, cloud services, external-drive backups, or old editing catalogs sometimes hold files you forgot were transferred.
- Search the computer's Pictures, Downloads, DCIM, plus project folders for the shooting date, camera filename prefix, or file extension.
- Open the Windows Recycle Bin or macOS Trash. Restore matching photos if an earlier computer copy was deleted.
- Check Microsoft Photos, Apple Photos, Lightroom, Capture One, or your usual importer for previously imported originals.
- Look in OneDrive, iCloud Photos, Google Photos, Dropbox, or another sync service. Inspect its trash or recently deleted section too.
- Connect backup drives, then review File History on Windows or Time Machine on Mac for older versions of the photo folder.
- Copy any discovered originals to a new folder, verify several full-size images, then make a second backup before reusing the SD card.
05 Send the Card to a Recovery Lab
Right choice for physical damage or photos valuable enough to avoid DIY risk
Several days
Send the Card to a Recovery Lab
Right choice for physical damage or photos valuable enough to avoid DIY risk
Software cannot read a card that the computer never detects, nor can it fix broken contacts or a failed controller. A specialist may be able to access the memory chip directly, though cost plus turnaround vary widely.
- Stop inserting the card if it is cracked, bent, corroded, extremely hot, or invisible in every known-good reader.
- Place the card in a plastic case. Keep loose or broken pieces together without gluing, cleaning, or straightening them.
- Contact two or three established recovery labs. Describe the deletion, format, water exposure, impact, error message, plus every recovery attempt already made.
- Ask whether evaluation is free, whether the quote is fixed after diagnosis, how return shipping works, plus what happens if no usable photos are recovered.
- Confirm how recovered files will be delivered, how long the lab retains copies, plus whether the card will be altered during chip-level work.
- Choose the lab only after reading the service terms. Package the card securely, record its serial details, then use tracked shipping.
When to Stop Scanning a Damaged SD Card
Stop if the card repeatedly disappears, cannot hold a connection, becomes hot, or produces read errors that get worse. A long deep scan is not harmless when the memory or controller is failing.
Do not open the plastic shell or clean contacts with household liquids. Put the card in a case, write down what happened, then ask a recovery lab whether further DIY attempts could complicate chip-level work.
Choose the Right SD Card Photo Recovery Method
Start with the card's condition, then weigh cost against the value of the missing pictures.
| Method | Best for | Time | Success rate |
|---|---|---|---|
| 1. Scan the SD Card With Disk Drill TRY FIRST | Deleted or formatted photos | ~15 min | ● 88% |
| 2. Create a Disk Image Before Scanning | Unstable or error-prone cards | ~30–90 min | ● 82% |
| 3. Recover Photos With PhotoRec | Free deep file carving | ~30–120 min | ● 72% |
| 4. Check Import Folders Plus Backups | Previously copied photos | ~5–20 min | ● 95% |
| 5. Send the Card to a Recovery Lab | Physical or controller failure | Several days | ● 65% |
Which SD Card Photo Recovery Method Should You Use?
Start by scanning the SD card with Disk Drill if the computer can detect the card reliably. It offers a simpler way to filter, preview, then restore pictures without placing them back on the affected media.
Create an image first when the card behaves erratically. PhotoRec is the practical free alternative, while existing imports or backups beat every scan if they contain full-size originals. Skip home recovery if the card has physical damage or holds truly irreplaceable work.
Keep the SD card untouched until you have opened several recovered photos at full size plus saved verified copies on two separate drives.